Showing posts with label projects. Show all posts

Thursday, May 15, 2014

Crab Nursery and Guestroom

From nurspiration here and revisited here to reality, I wanted to finally share the finished product of our crab-themed gender neutral combination nursery and guestroom (say that three times fast) that our little one now calls home. 

With the limited space we were working with, we combined the changing table with the dresser and added a DIY paper lantern mobile to give the baby something to look at while he or she was getting changed.

Henry now points at the lanterns and class them balloons

With little room for a crib and double bed, we got creative and turned the existing closet into a nook for the crib with bins on the shelf for extra storage.  I then prettied it up (sorry, son) with a DIY fabric banner.


The double bed was left in the room for when we had guests, with some new linens to match the updated color scheme.


Of course a little patriotism was inserted with a DIY Flag collage


And I included some shout outs to NC so any child of mine would know a little something about the place Mommy calls home.


An insert from Our State magazine turned into a canvas with some Modge Podge

Framed pictures of Chapel Hill from an old UNC Alumni Calendar 

Pretty close to the original inspiration right?

Crab Themed Nursery and Guest Room


Sources:
Dresser // Bed Linens - Home Goods
Coral Pillows - Target //  Crab Pillow
Paper Lantern Mobile, Flag Collage, Fabric Pennant Banner, NC Icons on Canvas: DIY


Linked up:

Friday, November 16, 2012

Is This What Nesting Looks Like?

Last weekend, I needed to go to Target for two main reasons:  1) return some things 2) buy thank you cards.  I don't know what happened and I might've blacked out for a little while there, but when I got home my trunk looked like this:


I had bought out half of their Home Organization department and there was not a single thank you card in sight. Oopsies.  I think this must be what they mean by nesting (and let's also throw pregnancy brain in there while we're at it).

Monday, April 30, 2012

Fit for a Tar Heel


I have a rule when I go shopping.  If I see something at the store that I like, but I don't feel 100% sure about buying it, I usually just leave it there.  If I just winding up forgetting about it, to me that means I didn't really want it after all, so no big loss.  But when I find myself thinking about it again, especially on multiple occasions, regretting not buying it, I'll usually go back and get it.

That was the case when I saw this guy at the Goodwill:


I guess it's kind of obvi why I didn't pick that bad boy up right on the spot.  I definitely wasn't 100% sure about it, plus it was the same time there was that guy there telling me how he restores old furniture.  What I didn't add before was that he then proceeded to complain to me about how expensive everything was at that Goodwill.  Even when I started to walk away, he was still yelling out prices to me.  I needed to get out of there stat!

But I found myself thinking about the chair all week, imagining its potential, so I went back a week later and bought it (and paid too much for it according to random furniture guy).

When I brought the chair home and saw this tag on the bottom, I knew I had made the right decision.

Made in North Carolina, this was meant to be.

So here's what I did:

Goodwill Chair Makeover


Removed the old cushion.  Just had to unscrew the four screws attaching the cushion to the base.


Cleaned the chair with TSP and filled in a small hole with wood filler.  Then I sanded it lightly and wiped off with a cloth.


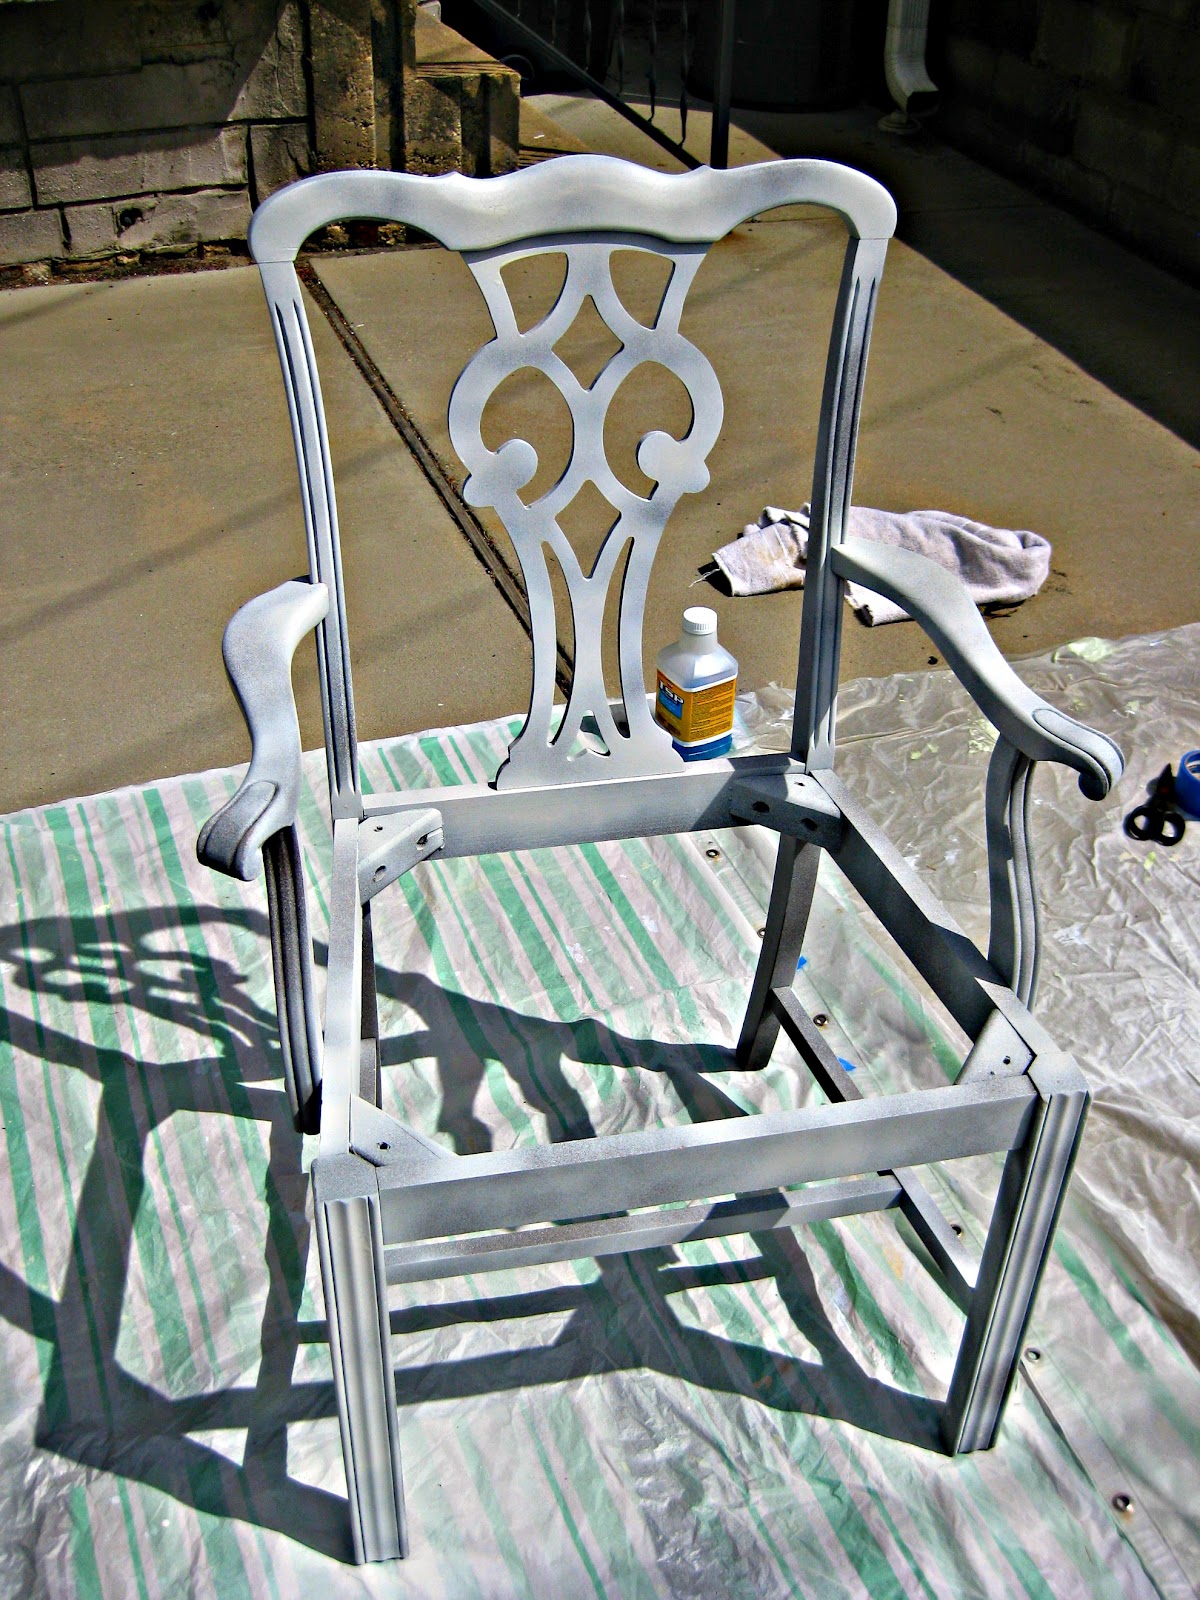
Primed the chair.  I used Kilz Original Primer Spray Paint.


Realized it was much too windy out for spray painting, and moved the operation inside.  Then I added two coats of Krylon Spray Paint in Peekaboo Blue, boo.


At this point it was looking way too blue blue and needed to get toned down a bit.   Plus it has really cool details and lines that I wanted to bring out a bit. So I added some Martha Stewart Glaze.


And wiped off.


And once that was dry, I added 3 coats of Minwax Polycrylic to protect my little masterpiece.


So the base was ready but the cushion needed a makeover too.

Grandma called, she wants her nightgown back
I started to take off the staples attaching the fabric to the cushion.


But then I realized that's what was keeping the padding attached, so maybe I shouldn't remove it.  I checked to see if the old fabric would show through the new fabric, and it didn't so I just let the old fabric stay put.  Removing it would've been way more trouble than what it was worth.

For the new cushion, I didn't know exactly what fabric I was looking for, so I just checked out the sale rack at Jo-Ann until something spoke to me and picked up a yard of it.

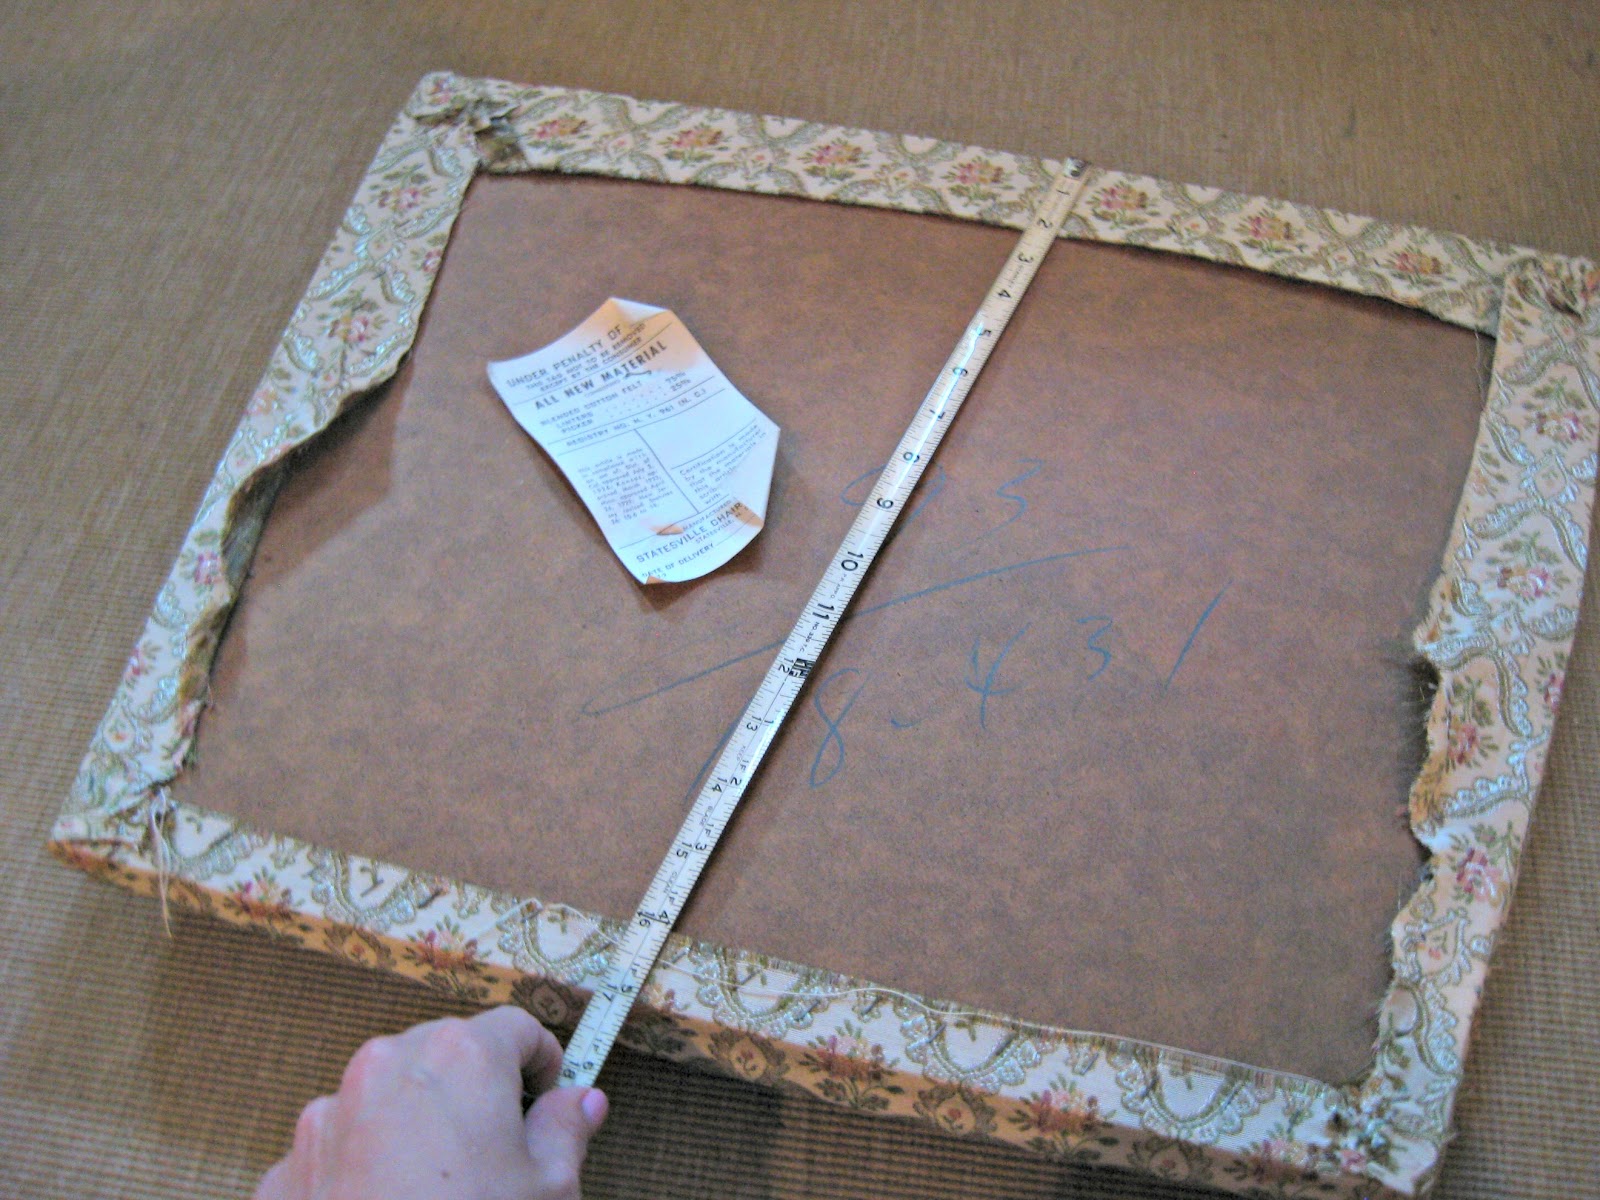
I measured the seat to make sure I cut enough fabric to cover it.


And then it was time to put the staple gun to work, something I'd never done before.


I literally let out a Vicki Gunvalson-style "Woo", for the first 5 to 10 staples that I punched in.  That thing has some power behind it. That's what she said.

I just kept pulling the fabric tight as I stapled around the cushion until it was all put together.


Then I just screwed it right back in the base.  Voila:


My shopping trick prevails again.  And I don't care what random furniture guy says, it was worth every penny.


Now I have a chair fit for a Tar Heel.

Getting my link on:

Monday, April 23, 2012

The Old College Re-try

We all probably did some things in college that we might now regret.  I know I did.

I even have a picture to prove it, and today I'm going to share:

<Hanging my head down in shame right now>

Yes, that would be my very first attempt at repainting a piece of furniture.

I inherited this dresser from my oldest sister when I moved into my first college apartment. It was stained dark brown and a bit scratched up but I was sure it wasn't something a coat of paint couldn't fix.  So not having much of a clue, I bought a couple cans of spray paint, some stencils and some craft paint and felt pretty confident it was going to look amaze-balls.  I mean, I even knew to buy a can of primer, what could go wrong?

Well, for starters running out of top coat, but clearly there were a lot more problems than that.  I never got around to finishing it, and instead have just lived with the shame since then.

It has clearly seen much better days and has gotten quite beaten up moving around to the many places I've lived since my days in Chapel Hill.  Many times I thought about getting rid of this eyesore, but I wasn't really wanting to purchase a new dresser when I had a perfectly fine one at home and after seeing all of the furniture re-do inspiration out there, I thought this thing might still have hope.

On Sunday the hubs and I were supposed to go to the Wine Festival, but since that got rained out, I had a whole day free to finally tackle this project.

And so, not really having much more of a clue than I did before, but this time using the aid of internet, here it is, my second attempt at repainting a piece of furniture:


I knew the old gal had it in her.

Here's how I did it:
1.  Cleaned that hot mess with TSP
2.  Sanded away the sad flower stencils and wiped clean
3.  Looked up the Just a Girl tutorial on how to paint furniture and followed accordingly
4.  Learned that Cover Stain does not wash off with water like Latex Paint, so went to Home Depot to buy Mineral Spirits while the primer dried
5.   New hardware was not in the budget for this project (okay there wasn't an actual budget, but I was too cheap to buy new hardware), so I used this on the existing hardware:

And I followed In My Own Style's advice for painting drawer pulls:
Just insert toothpicks to keep the handles upright


It was like brand new hardware for (almost) free!
6.  Wait patiently for everything to dry and put back together.

So we all make mistakes in life but the good thing is we can learn and grow from them, and maybe even fix them several years later with a new coat of paint.


I have to say this makes me so happy that this actually worked.  While the paint was drying yesterday, I ran to Goodwill to drop off some old clothes I had purged in the cleaning process.  While I was there, there was a man there who told me that he restores old furniture.  I smiled and thought to myself, "Yeah, me too."

Getting my link on:

Saturday, April 21, 2012

Wrinkle Remover

I have many loves in my life, two of them being matches and Chapel Hill.  And I have a poster that brings them these two loves together, but it looks more like it's been in an abusive relationship.  But since we're in the trust tree here, I am going to share:

Ugh, right?

I loved this poster when I bought it, but I was also a poor college student at the time, and did not bother to spend precious going out money on a frame.  Once I finally did frame it, I used one that I inherited from an old roommate who was going to throw it away if I hadn't rescued it.  Maybe I shouldn't have gotten in the way of natural selection like that.

Yes, by that point, my beloved poster was a hot, wrinkled mess but I hoped framing it would rescue it.  Clearly it did not.

I could never bear to part with it, as it displays all of my old stomping grounds (some of them no longer with us:  I'm talking about you, Treehouse and Michael Jordan's 23), so it has been hiding in the guest room these days.  I've been wanting to display it more prominently, but clearly not in this state.

I still didn't want to spend a lot of money taking it somewhere to get restored, so just like how you don't want to go to the doctor if it's something that you can just diagnose on WebMD, I went to the interwebs for a solution.

I found this ehow article and figured I would try it here so you don't have to.


Will It Work?  Ironing a Wrinkled Poster


1.  Take poster out of POS frame
2.  Lay poster on ironing board and set iron to lowest heat setting (a burnt up poster won't do you any good, wrinkles or not)


3.  Lay fabric or bed sheet over poster


4.  Go to town


5.  Add to a new poster frame


A big improvement, right?


So what do I think of this method?  It definitely did not get rid of all the wrinkles, but it looks a lot better than it did before.  If I had more time, I probably would've tried laying it between a couple boards with weights on top for a few days, but this is a suitable quick solution.  A better frame made a big diff as well.

So will it work?  Yeah, pretty much.

And now I have a little NC love in the kitchen, plus something to draw the eye away from the kind of out of control collection of liquor bottles.

Eyes Up Here Please

Getting My Link On:

Thursday, April 12, 2012

One Down...

Approximately 2,739,466 to go.  Projects that is.

First I put my first planned project of the year out there, the matchbook art I hoped to create, and I can thankfully say that the mission has been accomplished.  But before I could take too long basking in the glory, the hubs asked me what's the next project.  Good question, not because there's a lack of projects, but which one to pick first?  I took a look at my Pinterest to-do list, and it ain't short.

Can I get a witness?  I have to believe anyone else who has spent more than a minute pinning feels my pain.

So let's see for starters, in the guest room I'd like to do this:

Just a Girl
And this:
Centsational Girl
This for above the bed:
The Ginger Penny Pincher
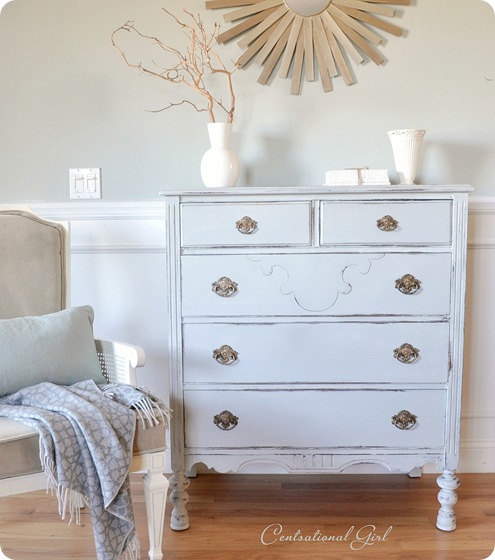
And the dresser definitely needs this:
Centsational Girl

Ugh and that's just the guest room.

We have some VIG's (give it a second, you'll get it) coming to the house in the not too distant future, so I really need to light a fire under my backside, too.  Which could be difficult now that all of my matches have been disposed of.  Darn it, I knew I was keeping those around for a reason.

Well as I'm sure Confucius once said, a journey of a thousand projects begins with a single visit to Michael's.  Better get to it.

Thursday, January 5, 2012

Come on Baby, Light My Fire

Ah Jim Morrison, or Uncle Jim as I like to call him since we once shared the same last name.  I would even sometimes convince classmates that he was my actual uncle, mainly because I could mourn his loss as if we were truly flesh and blood.  "Poor, poor Uncle Jim" I would say with tears welling up...  but I digress, as I often do.

This isn't about (Uncle) Jim, it's about fire.  Well, it's not really even about fire.   What is this about?  Well, okay, maybe fire a little.  Because I am fascinated it by it.  Not as in I am going to torch this place any second, more like, "wow, fire is cool."  Let's be honest, it's really neat to just watch a fire burn in the fireplace, right?  Well, for me it is, and always has been, don't judge.  I think it is this interest in fire that, ahem, sparked my desire to collect matches.  I swear I must have still been in middle school when I started my collection.  And it probably didn't hurt that it was around that time I had Beavis and Butthead on MTV every week reminding me how cool fire is (but only when I babysat or we went on vacation, since we didn't have cable growing up).  There I go digressing again.

The point is, I have been collecting matches for quite some time.  At just about every restaurant (or hotel or gas station) I'd go to from age 13 until now, I make sure to look for or even ask if they have matches, and if so could I have a book of them.  As my collection grew, I realized what a neat way it was to document all of my travels, experiences, and gas fill-ups.  But not so much lately, why is that?  Well in 2007, I had just moved to Baltimore when smoking was banned in bars and restaurants.  A funny thing happens when there's no more smoking at a restaurant, there's no more need for matches.  I've since noticed that hardly any place has branded matches these days, except for the occasional steak house, and the most recent matchbook I picked up was in Vegas last summer (where you can still smoke in a bar, go figure). 

So it has been for some time now that my collection really hasn't grow too much, and I have had more time to think about what would best way to actually put it on display (each and every day, every day, every day.) Darn you Melissa Gorga for haunting my thoughts!

Most of my matches are currently placed in an Ikea vase like this


which looks okay but not quite as chic as I had imagined. 

There has to be something more I could do with such a fabulous collection.  Plus our dining room is hurting for some wall decoration so I wouldn't mind if I could do something about that at the same time.  It was with idea in mind "matches + display x wall art = happy Tar Heel"  that I went on a search of the interwebs. And what did my little googling self find?  Inspiration!  <Cue the background choir of angels>


Man, I sure wouldn't mind having that banquet table as well.  Unfortunately I don't think I can make one of those out of matchbooks.  I don't even know if the wall art is actually matchbooks, but darn it, that's what it shall be in my house.  So I believe that will be my first project for 2012.  Wish me luck!

UPDATE:  You can see my finished product here!